
Video Capture: Viewfinder

Set your adventures in motion with video capture.
Having been a still shooter for decades, I will admit I had a hard time syncing with the video world. The still images I’m used to shooting must convey elements of a storyline captured a fraction of a second at a time. Video, on the other hand, allows us to share that story with multiple animated clips which span 15 seconds to several minutes. When strung together you end up with a movie, and modern post-processing software allows for infinite transition, audio and animated effects. Although we could write volumes on the subject, for this Viewfinder, we’ll dive into the basics of animating your adventures with video capture.
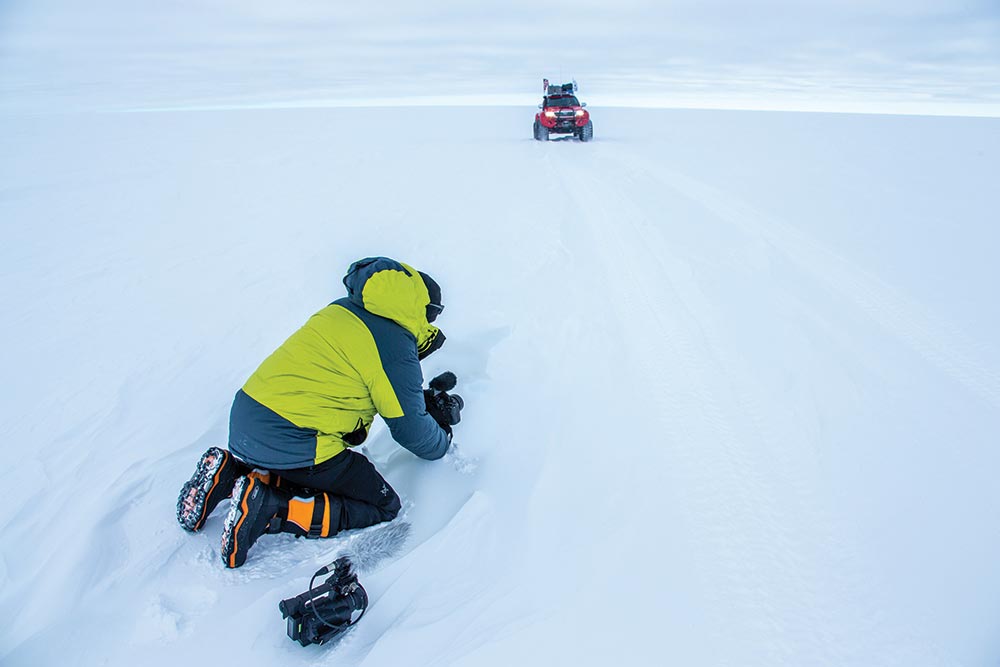
While filming an Arctic Trucks Hilux on the Antarctic Plateau, utilizing an ant’s eye view allowed me to shoot at ground level and zoom out as the vehicle’s tires passed within inches of the camera. (Photo: Scott Brady)
Technique
My first big video assignment was documenting Expedition 7’s crossing of Antarctica. Although filming in -30° F came with a learning curve, the general premise was the same as shooting stills. First, create a storyboard, or shot list, that has a beginning, a body of content, and an end. Then be ready to adjust as a dynamic scene plays out. Let’s talk about types of clips created for a given segment.
The establishing, or master shot, provides an overview of a scene.
The medium shot reduces the frame by half…ish.
The close-up focuses on the fine details.
Depending on the tools in your bag, each can provide a completely different feel. While I am a fan of aerial establishing shots, you can also open with an in-cab GoPro clip of a driver or wide-angle view of a campfire setting. The medium shot isolates the subject from its surroundings, and the close-up, maybe a skillet of sizzling bacon over a campfire, conjures emotion. It depends on the story you want to tell. Although your subject will usually be animated, you can enhance the three-dimensional effect by putting the camera in motion too.
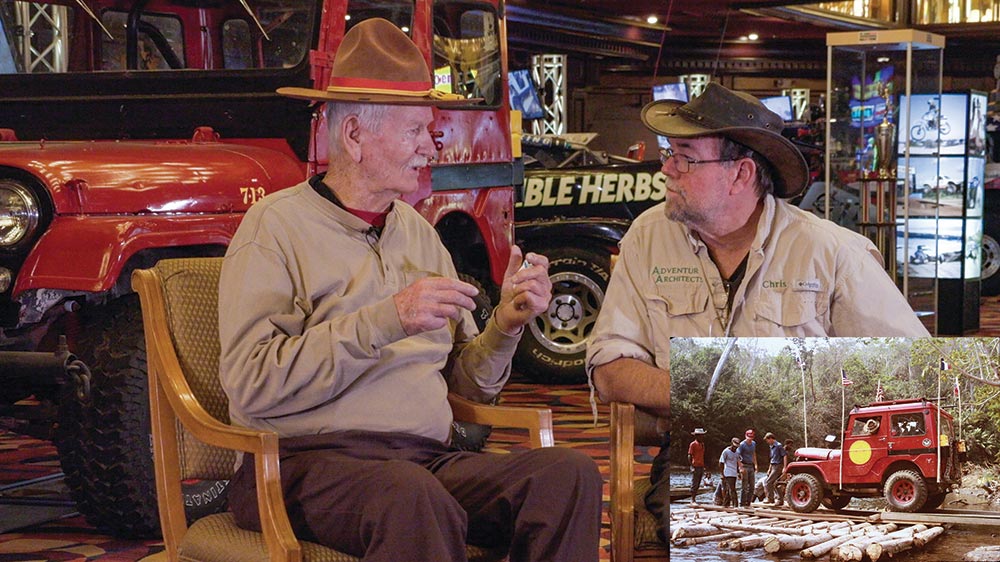
This interview with Lawrence and Patty Upton, who circumnavigated the world in the Sand Ship Discovery Jeep CJ-5, was wonderful, but much of the final cut was their narration over picture-in-picture video and still images.
A well-produced video will include a combination of these techniques:
Panning: slowly sweeping across the scene from one side to the other.
Tilt: panning, but in a vertical motion.
Zoom: slowly zooming into or out from the subject.
Tracking: following the subject through a scene.
Bird’s eye: overhead from a drone, top of a camper or nearby mountain.
Point of view: showing the viewer what the subject is seeing (helmet cams are ideal for this).
Time lapse: compresses long clips into a shorter period of time.
TIP: Incorporating multiple camera angles and using various techniques will render a more interesting video. Although your subject will usually be animated, you can enhance the three-dimensional effect by putting the camera in motion too.
Standups, B-roll, and Voice Over
It is almost impossible to find video interviews that don’t include clips of the subjects as well as what they were discussing. These are what we call b-roll, and when laid into a timeline in the post-production process, it is called a voice over (VO).
TIP: Remember to shoot lots of b-roll…no one wants to watch someone talk for 10 minutes.
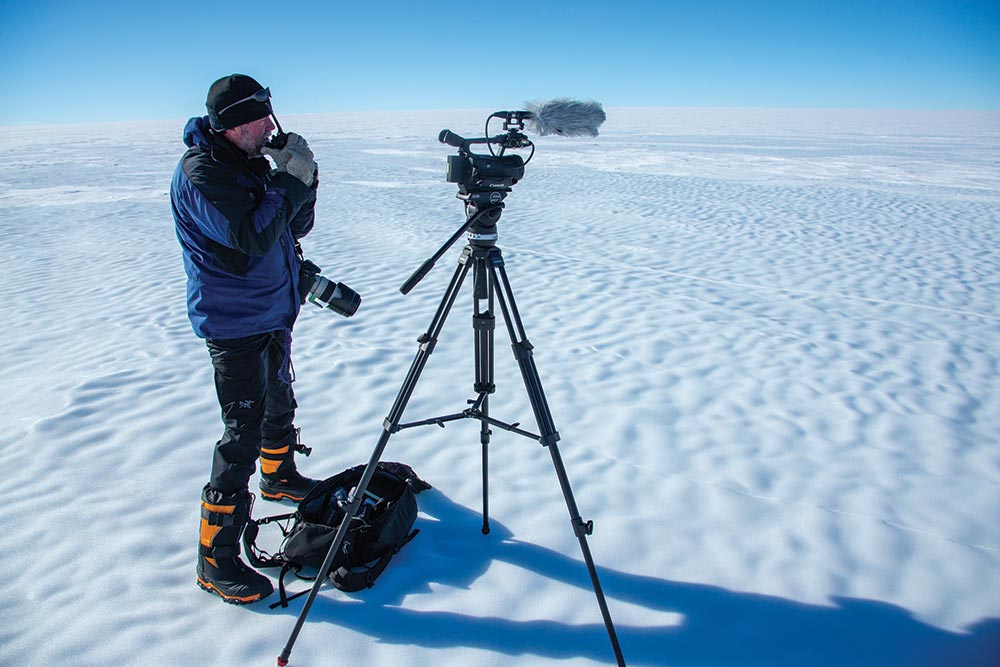
When working in remote locations like Antarctica, you must assemble your camera kit based on function, durability and ease of use. (Photo: Scott Brady)
Gear Bag
The gear in your bag will depend on a number of factors. How much are you willing to haul around? How much can you spend, and how much work are you willing to invest? Yes, video capture requires a lot more work, but gear options are endless. I’ve found a few basic setups that cover most of the bases. You will note that DSLRs and cinema cameras are not listed below. While I have used them, they’ve become less relevant as my needs have changed.
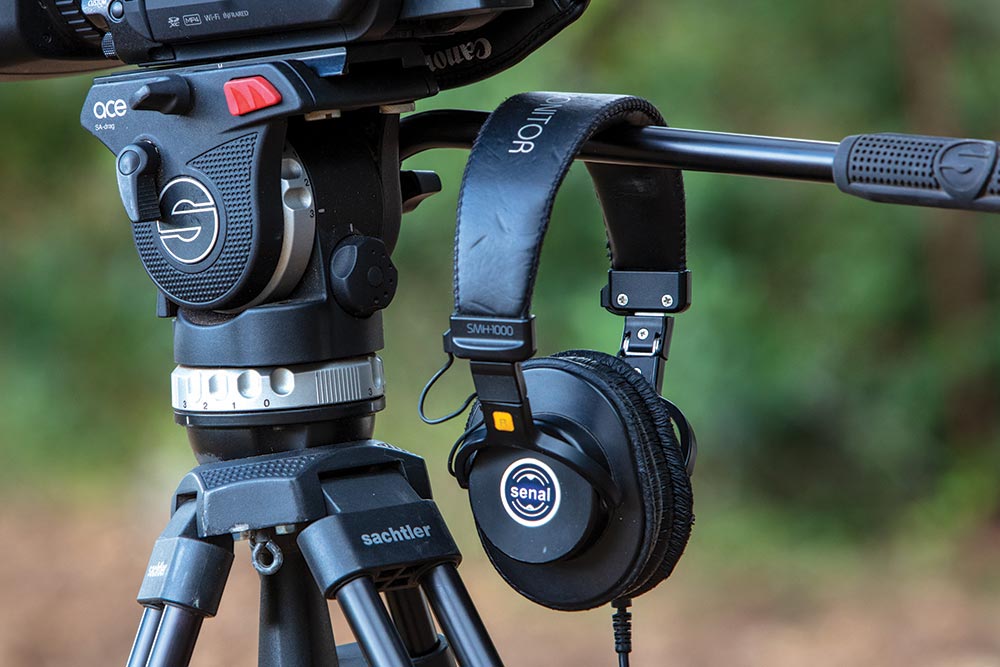
The Senal SWH headset works well and folds into a compact bundle for easy storage.
Traditional Rig
The traditional video capture rig includes a quality camcorder and fluid-head tripod. Camera features should include 4k video capture, quality glass (lens) with 10x or better zoom, audio jacks for off-camera microphones, a headphone jack, high frame rate for slow motion, time-lapse option and full manual settings. A fluid-head (integrated into the tripod) contains a fluid chamber that works like a shock absorber, damping jerky motions of the operator and allowing smooth panning action.
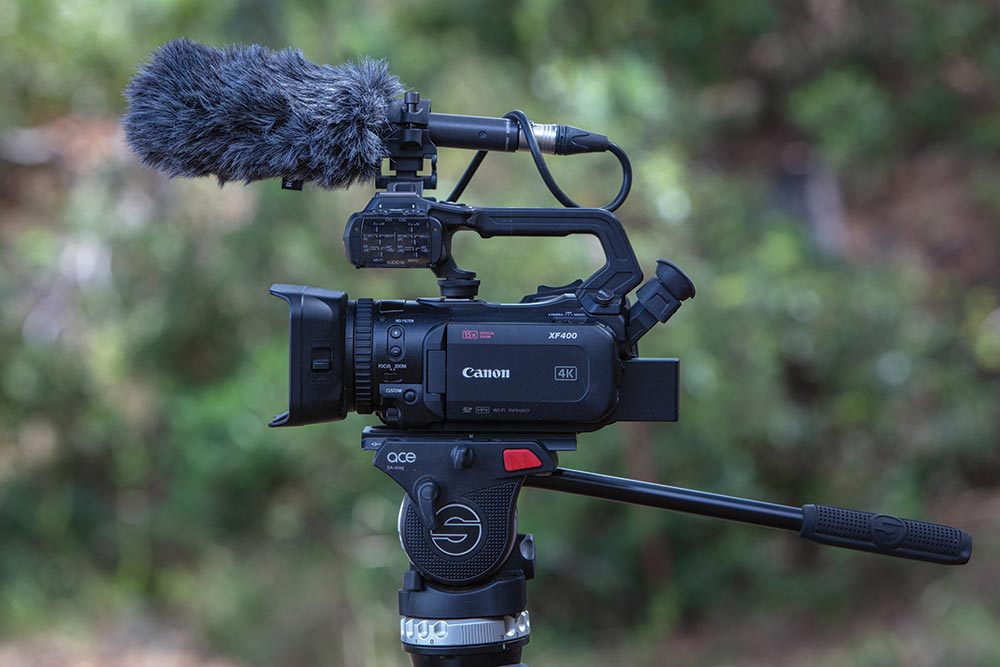
The Canon XF400 prosumer camcorder and Sachtler ACE tripod check all the boxes, are reasonably priced, and have proved to be very durable in harsh conditions.
Smart Phone Rig
Although you won’t capture cinema-quality reels with smart phone video (yet), they do an exceptionally good job and have become the popular choice for run-and-gun social media shooters. Similar rules apply with regard to features (4k, slow-motion, time-lapse, etc.), but unless you have the lightest of touches, I suggest adding a rack system and tripod. Look for a rack with dual hand grips, enough room to access the audio port and cold shoe mounts for a microphone or light system. I also suggest investing in a handheld gimbal. They do an amazing job of stabilizing shaky hands, but most do not accommodate off-camera microphones.
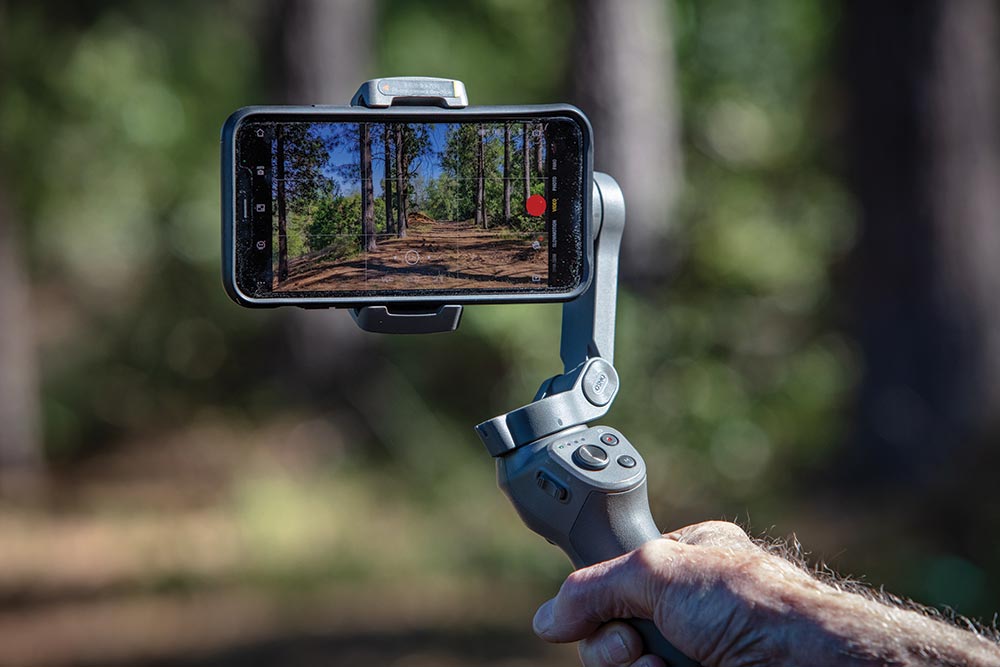
DJI’s Osmo Mobile gimbals are ideal for capturing silky smooth handheld video.
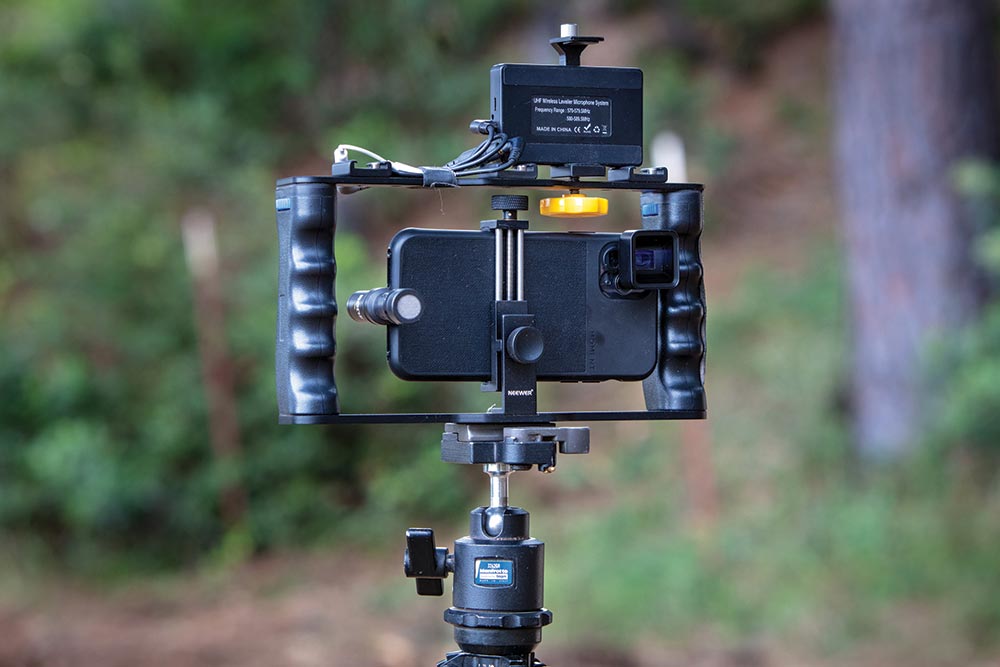
Neewer’s aluminum rack has dual grips and cold shoe mounts for accessories such as a Fulaim RX wireless lavalier receiver. I also utilize a Rode Me-L directional shotgun mic. The SLIK Pro 634CF carbon fiber tripod and Manfrotto 3262 head are compact enough to fit in most camera bags.
Action Camera Rig
No video kit would be complete without an action camera, and the ubiquitous GoPro ranks in the top of the class. There are endless mounting options to expand your creative license, and newer models have external audio and lighting features. Coupled with a suction cup mount, they can be affixed to a windshield to film the driver or forward over the hood, outrigged on a fender to capture video of tires in motion or on a helmet to provide a first-person POV.
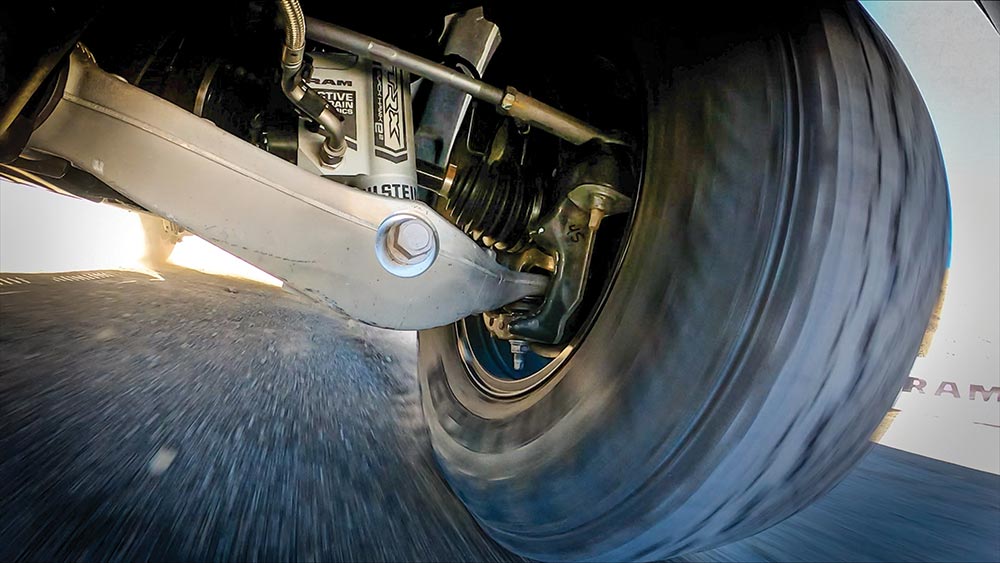
GoPro action cameras can be utilized for thousands of applications. Using a Ram Mounts alligator clamp affixed to the frame, I was able to capture this suspension in action.
Drone Rig
Recent advancements in video technology have provided some amazing things, but few have done more to advance video creation than the drone. Operating from a bird’s eye perspective, they can maneuver around the heavens at the will of the pilot, capturing infinite compositions. Their gimbal-mounted cameras provide silky smooth footage, and more advanced models feature slow-motion and time lapse, 4k (or better) resolution and multiple active tracking modes. They come with a healthy price tag, so I suggest practicing (and crashing) a cheap toy before you launch your expensive flying camera into a tree.
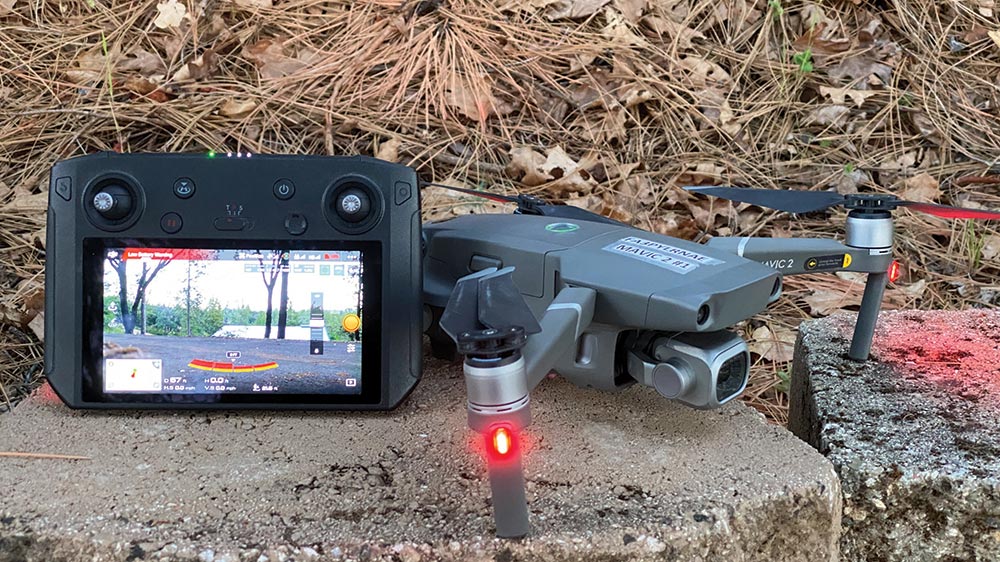
Although I own DJI’s Inspire II and Phantom 4 Pro, my go-to drone rig is their Mavic 2 Pro and Smart Controller. It has the features of larger drones, including a Hasselblad 4k camera, while the Smart Controller eliminates the need for a dedicated smart phone device and has excellent screen visibility in midday sun.
Shotguns and Dead Cats
Audio can be one of the biggest challenges when shooting in outdoor environments. Background noise, like wind or the occasional airplane overhead, can ruin an otherwise awesome clip. Recording options are the built-in microphone (not so great) or an off-camera directional shotgun mic (preferred). If shooting an interview, stepping up to wireless lavaliers will make a world of difference. Professional-grade units allow for fine tuning mic gain and filtering out ambient noise.
The fluffy ball you see covering a microphone is known as a deadcat (poor Fluffy) and is used to reduce wind buffering. To ensure you get it right the first time, add a good headset to your kit and do a sound check prior to recording. Lastly, record a minute of room tone (ambient noise) which might be needed in post processing.
TIP: Do a sound check before hitting the go button, and don’t forget to record room tone.
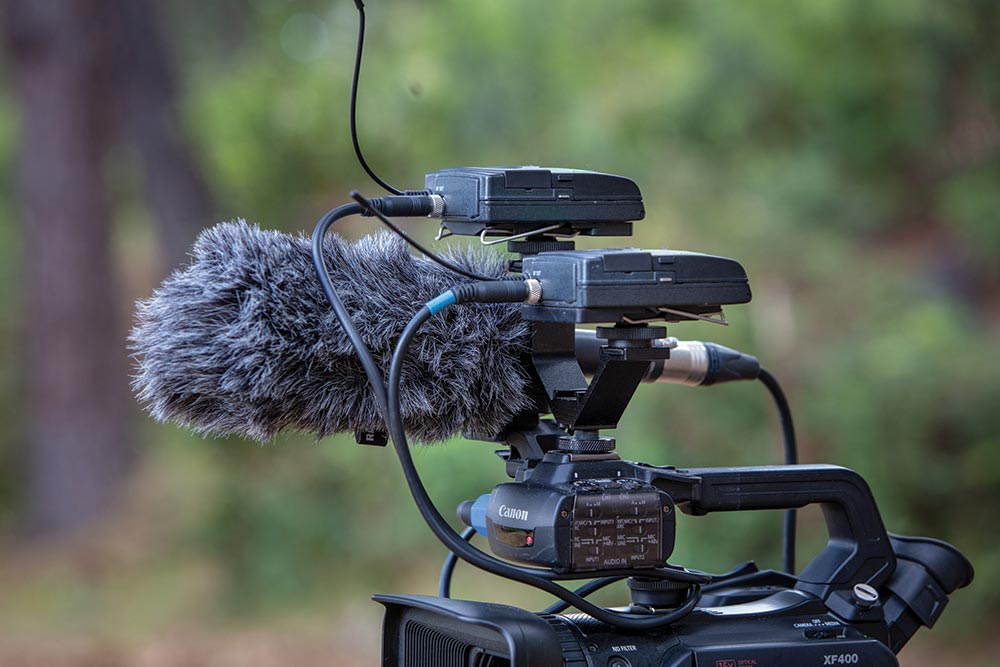
A pair of Sennheiser G3 wireless lavaliers and Rode NTG-1 directional microphones are an excellent choice for interviews and general use.
Let There be Light
While ambient light is usually preferred, introducing light can brighten a dark setting or highlight a subject from its surroundings. This once required lugging heavy batteries, tungsten lights, and yards of cable. Now, though, it can now be accomplished with compact LED panels powered by lithium-ion batteries. They are available from mini to massive, and the more advanced units allow for adjusting intensity and color temperature.
TIP: If shooting an interview on a sunny day, you can isolate your subject from their surroundings by underexposing by two f-stops and illuminating them with introduced light.
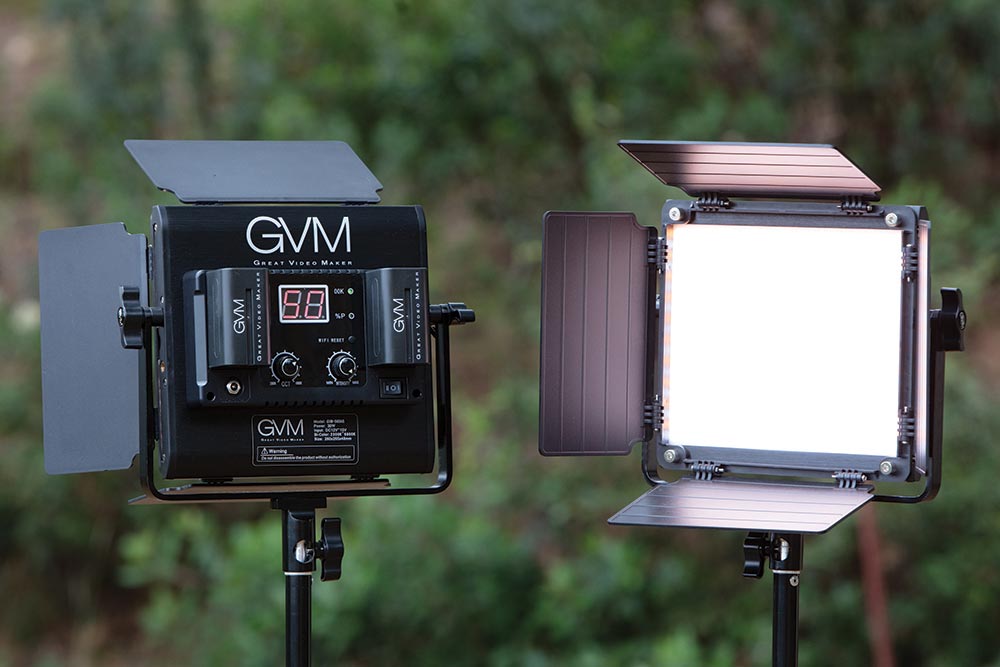
The lightweight GVM 800D Studio LED panels offer adjustable intensity and color temperature, quick setup, and operation on 120-volt or battery power.
Post Processing
So, we’ve captured the trip of a lifetime in its various stages. Now how do we create a video that anyone will want to watch? If you started with the end product in mind, your job will be easier.
But should you use an in-phone app, a third-party app or professional editing software? Adobe’s Premier Pro and Apple’s Final Cut are the choice of professional filmmakers. Both platforms provide for infinite editing of color, audio, and graphic effects. The hobbyist can get by with cost-friendly Adobe Premiere Elements. For editing on a mobile device, iMovie does a pretty good job for fun run-and-gun reels.

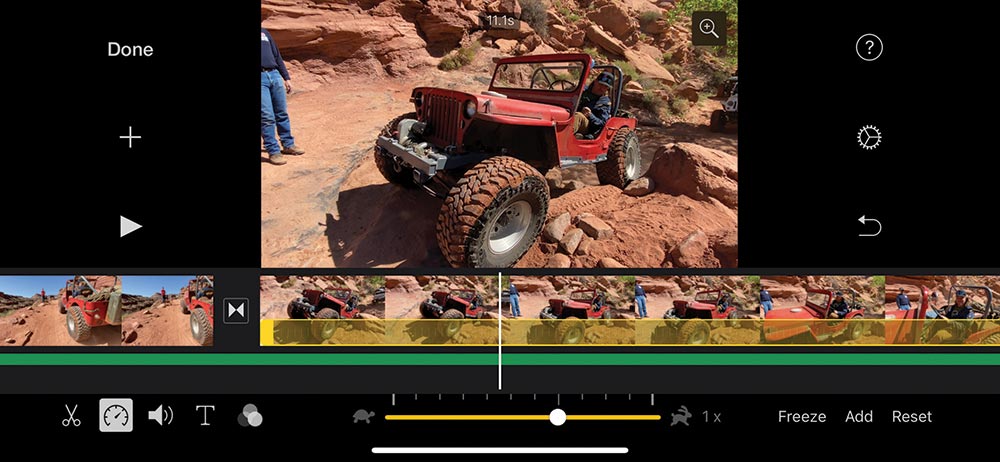
Creating magic in the digital edit bay can be managed with Adobe Premiere Pro (top), while iMovie (bottom) offers basic editing on mobile devices.
Final Frame
As the producer of your own epic adventure movie, you are in charge of your creative destiny. Don’t forget that your video—as is the case with any great story—has a beginning, middle and end. Set the scene with an establishing shot, then bring the viewer along for the ride. Creating a shot list will keep you from forgetting the intimate details. Plus, it’ll help you to remember to shoot ample b-roll from various positions. If your kit is just includes a smart phone and editing app, don’t worry. Source a clip-on shotgun mic and make the magic happen. The effort you invest in the field and edit bay will pay off in spades when your friends relive your epic adventure with a cold one around the campfire.
Happy shooting!
Editor’s note: A version of this story previously appeared in the TREAD September/October 2022 issue.
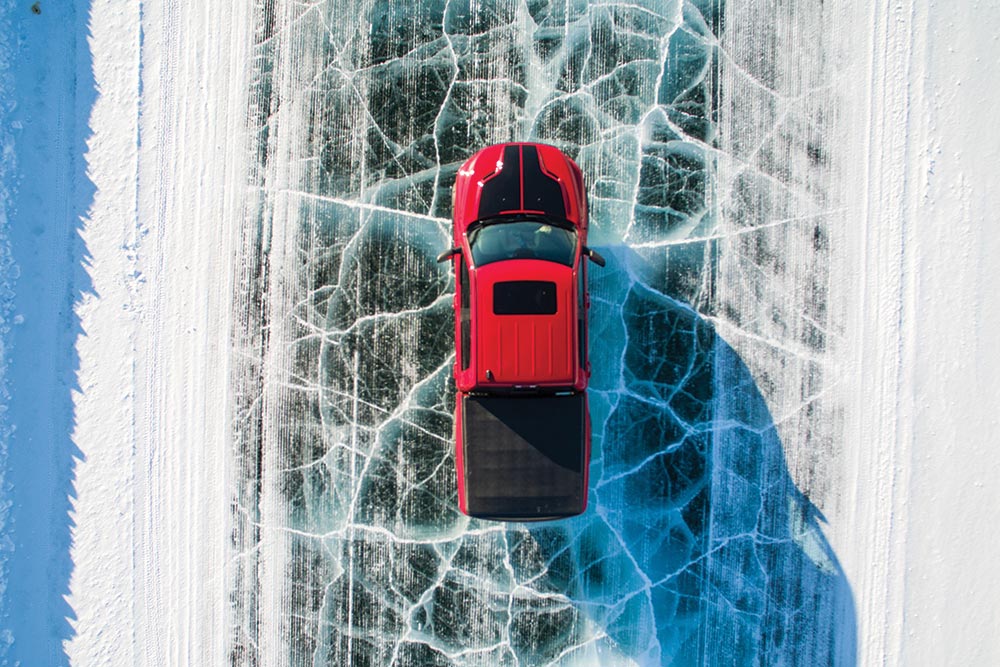
While traversing the Ice Road to the Arctic Ocean, we used a drone to highlight the fissured cracks and translucent nature of the thin sheet of ice under our Ram Rebel 1500.

